[vue] vuetify 사용 설정
작성일자 : 2019.07.21
환경 : Vue 2.6.10, Vue-Cli 2.9.10, npm 6.9.0, webpack 3.12.0
1. vuetify 추가
%ProjectPath%> npm install vuetify
node_modules 밑에 vuetify 생성 확인
2. vuetify 사용 설정
%ProjectPath%> vue add vuetify
아래 설정이 자동으로 추가됨
main.js
...import vuetify from './plugins/vuetify' vuetify ,
src/plugins/vuetify.js
import Vue from 'vue'; import Vuetify from 'vuetify/lib/framework'; Vue.use(Vuetify); export default new Vuetify({ });
src/components/HelloWorld.vue
<template> ... ... </template> <script> export default { ... ... } </script>
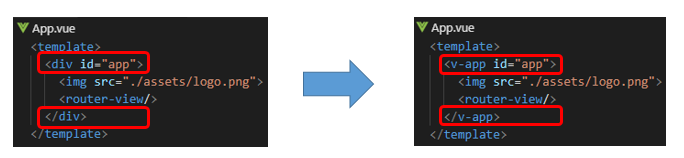
app.vue template 수정
3. 확인
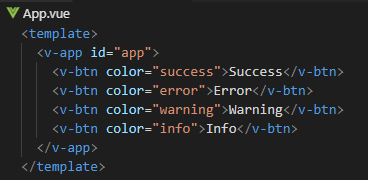
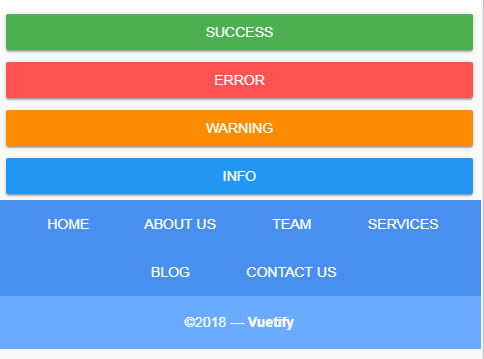
vuetify 버튼 적용 확인
< template > < v-app id = "app" > < v-btn color = "success" > Success </ v-btn > < v-btn color = "error" > Error </ v-btn > < v-btn color = "warning" > Warning </ v-btn > < v-btn color = "info" > Info </ v-btn > </ v-app > </ template >
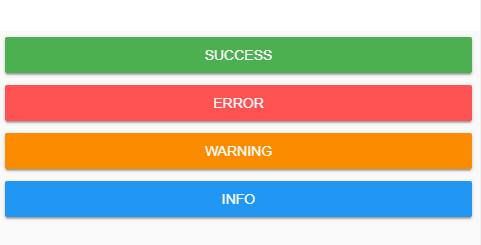
접근 시 vuetify 버튼 확인 가능
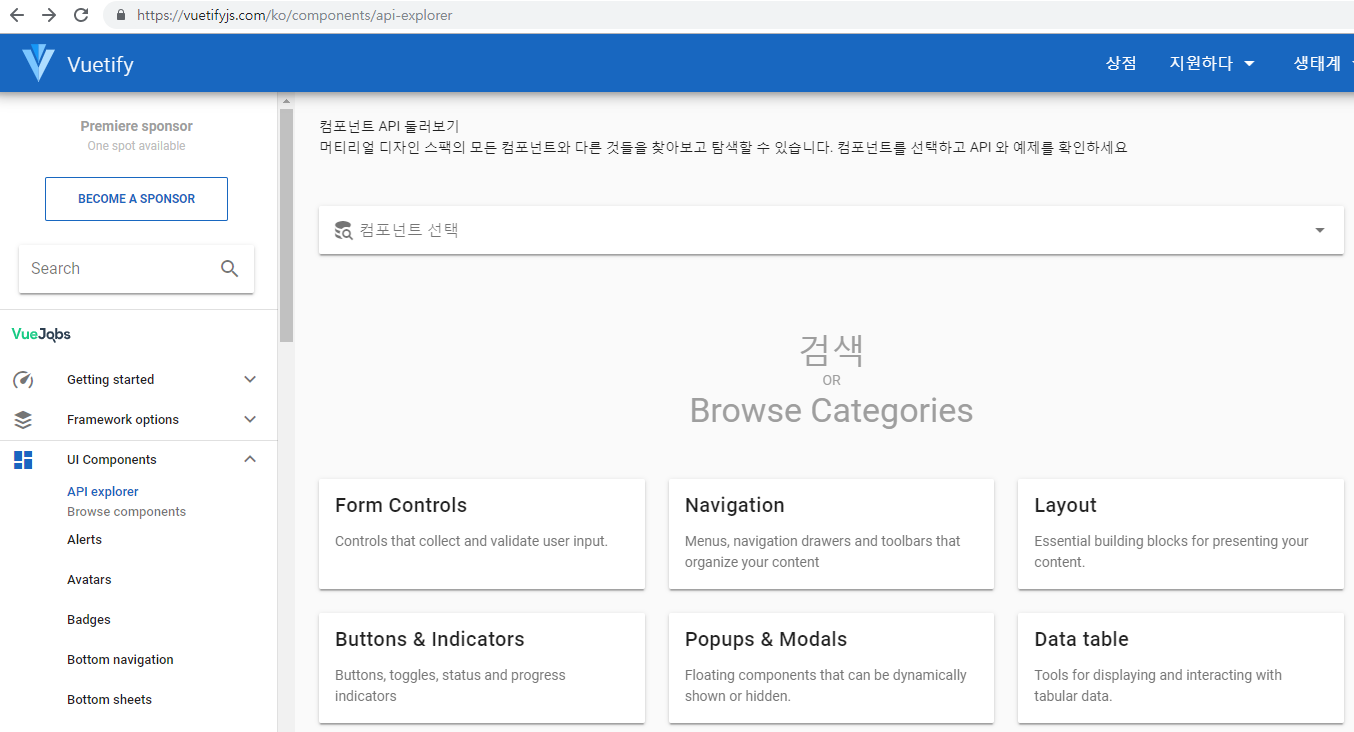
4. 사용 예시
vuetify 홈페이지에서 추가하고 싶은 Component를 찾기
https://vuetifyjs.com/ko/components/api-explorer
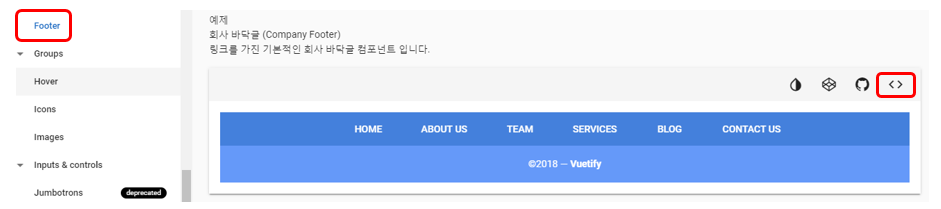
'Footer를 만들어보자'
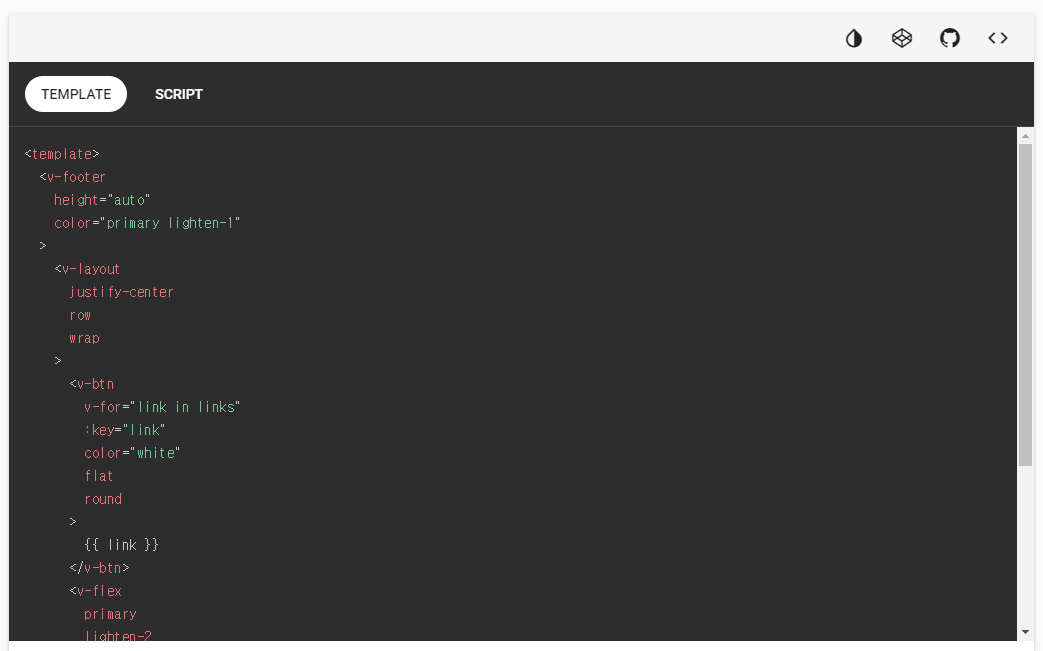
예제 우측 상단 <> 버튼을 누르면 template과 script 코드가 나온다
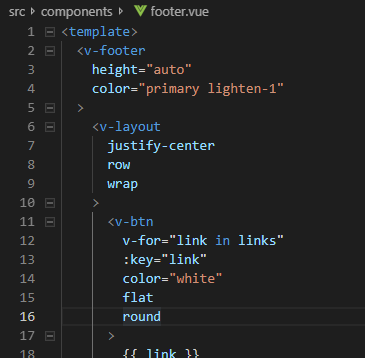
foorter.vue 생성 후 template, script 복붙
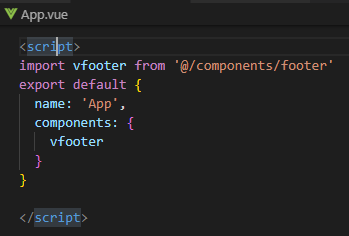
컴포넌트를 사용할 vue에 추가
... < script > import vfooter from '@/components/footer' export default { name: 'App' , components: { vfooter } } </ script > ...
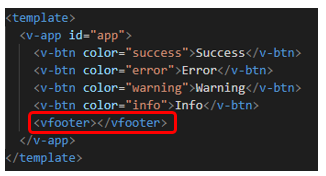
template에 추가
# vuetify 컴포넌트는 <v-app> 태그 안에 존재해야함
footer 추가 확인